
Wipers remove water and dirt on the windshield for a clearer view of the road. That said, their rubber blades that come into contact with the glass must be changed regularly. But how do you replace them by yourself? Moreover, how will you know when to replace the blades? These items are a part of general vehicle maintenance, and need to be replaced over time.
The easiest way to know is when you hear a squealing or grinding noise at each pass of the blades. This means that they’ve been damaged or have reached the end of their lifespan. Aside from that, you also have to look for streaks of water or a milky residue after every wipe. Some drivers resolve this one by cleaning the blades with a rag, but if the streaks are still there, then it’s time to have them replaced. Here’s how.
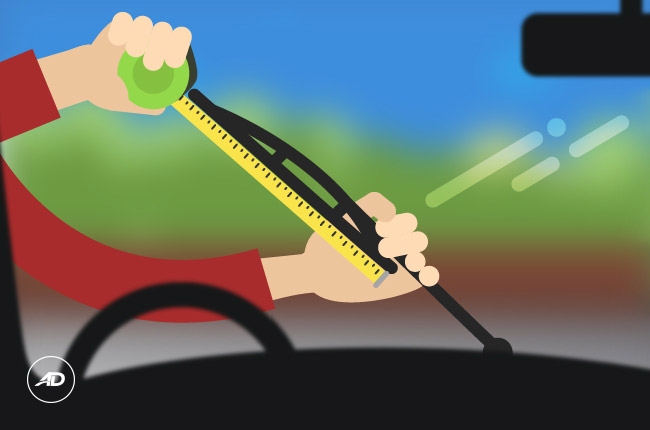
Measure the length and buy new blades
Wiper blade lengths vary from car to car. That’s why it’s best to measure the length of the old blades before buying new ones. Also, keep in mind that some cars specify different lengths on each wiper, so note everything down first before buying.
Alternatively, you can either take a photo of the old blades or tell the shop personnel your car’s make and model. They’d most likely have replacement blades that will match your car’s specs. Normally when you buy a new blade, you’re buying not only the rubber blade itself, but also the assembly that comes with it. What’s an assembly? Refer to the next entry below.
Remove old blades
Removing old wiper blades is easier than you think. But first, there are 2 components of the wiper that need attention; the wiper arm that’s held in place at the base of the windshield and the blade assembly attached to it.
That said, take one wiper arm and raise it away from the windshield. Be very careful as it could spring back down and hit the glass. Next, rotate the blade assembly until it forms a letter “T” with the arm. You should be able to see a small tab and a hook that holds them together. Press the tab and pull down on the assembly to unhook it. Again, take extra care not to let the arm spring down.

For wipers that use pins instead of hooks, just pull the tab on the assembly to unlock it and pull the assembly out from the pin on the arm.
Repeat the process for the next wiper and the rear window wiper (if your car has one). Tip: Keep the old blades and take them with you the next time you buy new ones. That way, you’ll have an easier time looking for the right kind of blades.
Installing new blades
Installing new wiper blades is essentially doing the removal process in reverse. For hook-type wipers, align the assembly to the hook and pull it up until you hear a click. As for the pin-type wipers, insert the pin into the hole on the assembly and press down on the tab to lock it in place.
Test wipers
By this time, your wipers are ready to use. But just to make sure that you did everything right, you may want to test them. You can either pour water on the windshield or use your car’s windshield washer to do this. The wipers should work fast, smooth, silent, and without a streak of water as they pass.
Replacing wiper blades is one of the basic do-it-yourself skills each driver must know. One can save money, avoid needless conflicts with service shops, and help fellow drivers to gain knowledge as this skill can easily be taught. We hope that you would benefit from this simple how-to guide.
Latest Features
-

Top 5 reasons why the Toyota Corolla Cross should be your next car / Featured Article
What makes the Toyota Corolla Cross a smart choice for new car buyers? Here's a look.
-
5 basic car safety features we often take for granted / Tips & Advice
Here are 5 basic safety feature most drivers take for granted.
-
Buy your next car with ease through the new AutoDeal app / Featured Article
Enjoy stress-free car buying with the all-new AutoDeal app. Now available for free download for iOS and Android.


Popular Articles
-
Cheapest cars under P700,000 in the Philippines
Aug 25, 2023
-
First car or next car, the Ford EcoSport is a tough package to beat
Jun 18, 2021
-
Car Maintenance checklist and guide – here’s everything you need to know
Earl Lee · Jan 12, 2021
-
Most fuel efficient family cars in the Philippines
Bryan Aaron Rivera · Nov 27, 2020
-
2021 Geely Okavango — Everything you need to know
Joey Deriquito · Nov 19, 2020
-
Family cars in the Philippines with the biggest trunks
Sep 20, 2023
-
Head to head: Toyota Rush vs. Suzuki XL7
Joey Deriquito · Oct 28, 2020
-
Why oil changes are important for your car
Earl Lee · Nov 10, 2020
-
2021 Kia Stonic — What you need to know about it
Joey Deriquito · Oct 16, 2020
-
Top 7 tips for buying a used car in the Philippines
Joey Deriquito · Nov 26, 2020