
If you don’t have the slightest idea on how to change a tire, this blog is for you. Some people might think that this is trivial but a little refresher won’t hurt.
That's why we made this handy guide so that you won't be dumbfounded next time you unexpectedly need to change your tires. Or someone else’s, if that’s the case.

Step 1: Secure the location
Make sure that the ground is solid and flat. You don't want to run after a rolling unmanned car. If you have a choice, park as far away from the traffic as possible. Use your hazard lights and early warning devices so that the coming traffic will be informed of your location.
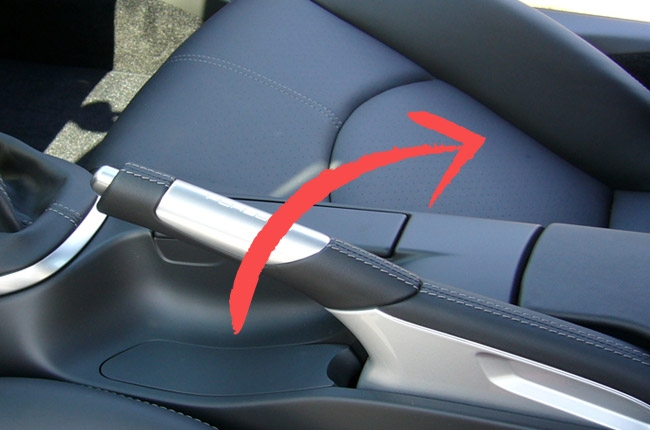
Step 2: Apply the parking brakes.
You should also put your car in 1st gear or reverse for manual transmission or “Park” if you have an automatic transmission.
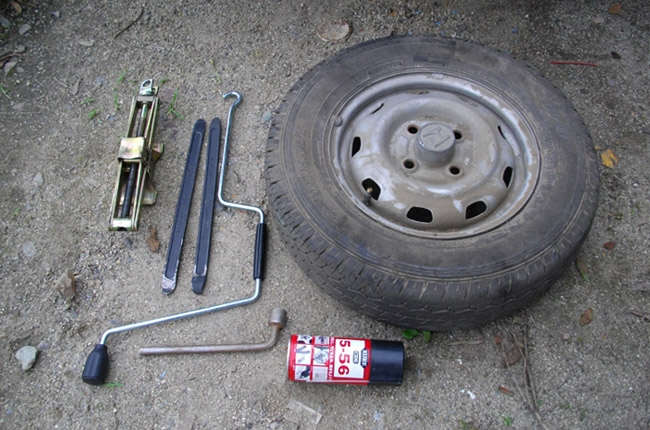
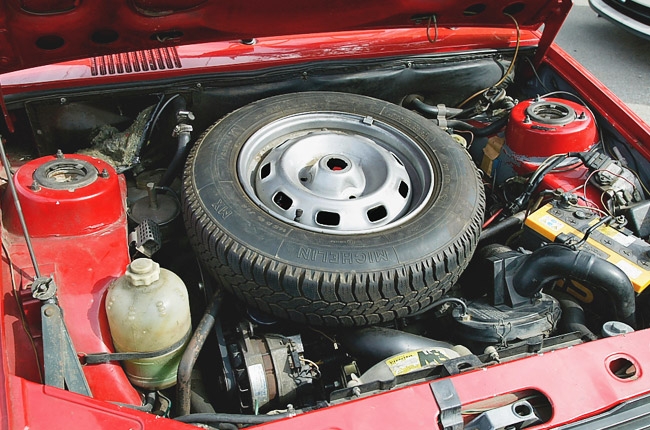
Step 3: Take out the tools.
Get the tools (lug wrench and jack) and the spare tire. Make sure that everything's in proper condition and the spare should have the correct tire pressure.
It should only make contact with the metal parts near the tire that you need to change and NOT the plastic moldings. If you're not sure of the position, check the owner’s manual.

Step 4: Raise the jack until it supports the car.
Don't lift the car off the ground yet. You don't need the wheel to be turning instead of the nuts.
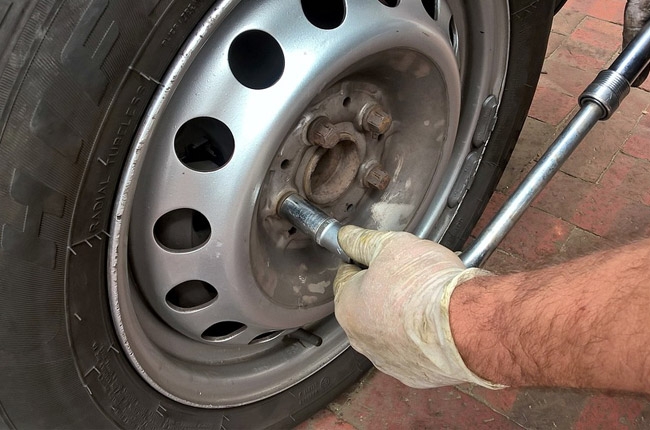
Step 5: Loosen the nuts (counter-clockwise).
This is the tricky part. Remember that when your wheels were put in place, they were tightened thoroughly for your safety. It’s important that you exert an extra force onto the lug wrench to jerk its tightness.

Step 6: Lift the car and remove the tire carefully.
The car should be just high enough to remove the tire. The wheel might stick to the hub due to dirt or rust. You can either use a rubber mallet or your fist to jerk the wheel off.

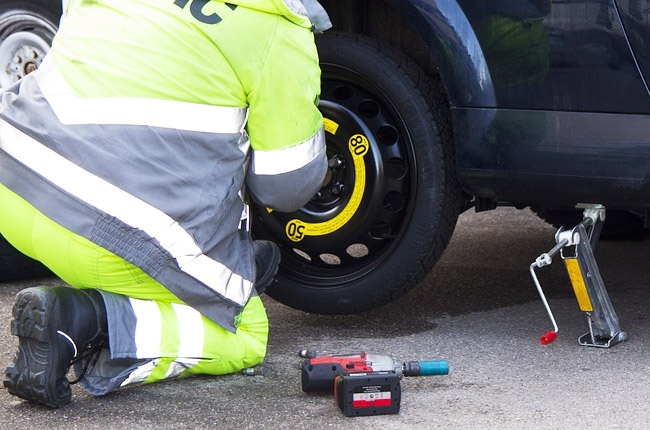
Step 7: Install the spare tire.
The spare tire should align with the hub perfectly. Once everything’s in place, put the lug nuts back.
Step 8: Tighten the nuts until snug.
You can do this by hand and through a star pattern (the next nut should be the one across). Take note, however, that you don't have to tighten the nuts fully while the jack is still up.

Step 9: Lower the jack and then tighten the nuts.
It's important that the car's weight is on the ground when you're doing this. Tighten the nuts like your life depends on it. You don’t want to endanger lives due to recklessness.
Step 10: Remove the jack and store the spare tire and tools.
Don’t forget to pack up. That includes the spare tire, tools, jack, and early warning device.
Latest Features
-

An all-electric future: The Porsche Macan Electric / Featured Article
Porsche’s Macan goes all-electric; it’s a new beast with an electrified heart, yet unmistakably Porsche in performance and spirit.
-
Which Kia should I buy? / Featured Article
We’re here to help you decide which Kia vehicle is best for you, whether it’s a sedan, crossover, or minivan.
-
Why Lynk & Co is a good option for luxury car buyers / Featured Article
Lynk & Co offers premium value for those exploring the luxury market.


Popular Articles
-
Electric Vehicles in the Philippines for under P1 million
Jerome Tresvalles · Aug 19, 2025
-
Top 3 Cars For Every Lifestyle—What Cars Are Right For You? | Behind a Desk
Caco Tirona · Apr 24, 2024
-
5 Tips to Maximize Fuel Efficiency
Jerome Tresvalles · Sep 09, 2024
-
Five driving habits that are draining your fuel tank
Jerome Tresvalles · Jun 24, 2025
-
Can engine braking harm your engine?
Jerome Tresvalles · Sep 11, 2025
-
Do electric cars even need maintenance?
Jerome Tresvalles · Oct 23, 2024
-
Best vehicles for an active outdoor lifestyle
Shaynah Miranda · Jul 25, 2024
-
How to drive different types of vehicle transmissions
May 23, 2024
-
5 easy ways to keep your car interior clean
Allysa Mae Zulueta · Nov 15, 2021
-
How to survive Metro Manila traffic
Earl Lee · Aug 16, 2022